
The noted movie director Christopher Nolan has said:
“Well, you always discover a lot in the editing room.”
This always works while editing anything, be it a movie, a video, a clip, or even the photos at your disposal. But learning the fundamentals is a precondition of it, because when the basics are clear, the foundation of advanced levels remains firm.
Basic photo editing generally includes color, brightness, sharpness, and hue correction to improve image quality. So here, I will explain to you the steps for editing photos as a beginner.
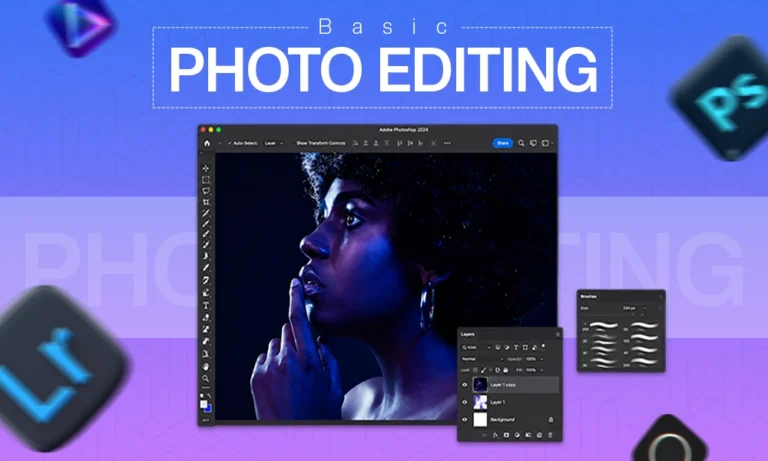
10 Essential Basic Photo Editing Techniques
The steps in basic photo editing are selecting a good base picture, choosing the right tool, cropping it, optimizing color, brightness, and contrast, and adding effects (if required).
These steps are described below for better understanding.
1. A Good Base Photo
A good base photo serves as a canvas for applying your skills. If you are a beginner, then here are some photography editing tips for beginners.
- Avoid camera flash while taking photos.
- The area surrounding the principal subjects of the photo must be cleaned as much as possible, or just change the location to a cleaner one.
- Avoid camera shaking. Instead, use tripods.
- Can you diffuse light or a light box?
The core idea of photography is to attract the attention of the viewers toward something you want to show, provided that the subject has sufficient space in the frame.
2. Choose The Right Tool
The photo editing tools vary based on the device you use. There is no universally accepted best answer to it. Here I am telling you tools for both smartphones and computers.
Computer Systems
- Windows: Go with Adobe Lightroom or Photoshop.
- Mac: You can also use Adobe Lightroom and Photoshop on a Mac.
Smartphones
- Android: Adobe Photoshop Express is considered the best option. A Color Story is also a great tool available on Google Play.
- iPhone: Afterlight, Adobe Photoshop Express, and A Color Story.
Online Tools: Pixlr and Canva are some of the best online photo editors, though the former is my favorite.
3. Crop And Align Smartly
While learning how to edit photos, the most important point is keeping the subject in the frame and avoiding unnecessary things outside of it.
The geometry and cropping of the picture have now become an essential element after the prominence of the social media culture.
Pictures on Google, Instagram, YouTube, and other platforms require different dimensions. Not adhering to them may hamper its visual integrity.
My take on cropping the picture is:
- Keep it either square, 6×5 dimension, or in the original size
- Try keeping it 600 px wide.
Here is a table providing the dimensions of the photos over different social media platforms.
| Social Media Platform | Profile Photo | Landscape | Portrait | Square | Story | Coverphoto |
| 320 x 320 | 1080 x 566 | 1080 x 1350 | 1080 x 1080 | 1440 x 2560 | 1500 x 500 | |
| 320 x 320 | 1080 x 566 | 1080 x 1350 | 1080 x 1080 | 1080 x 1920 | – | |
| X (formerly Twitter) | 400 x 400 | 1280 x 720 | 720 x 1280 | 1080 x 1080 | – | 1500 x 1500 |
| Youtube | 800 x 800 | 1289 x 720 (thumbnail) | – | – | – | 2560 x 1440 |
| Tiktok | 200 x 200 | 1080 x 1920 | 1080 x 1920 | 1080 x 1920 | – | 1584 x 396 |
| Snapchat | 230 x 230 | 1080 x 1920 | 1080 x 1920 | 1080 x 1920 | – | 375 x 278 |
| 280 x 280 | 1000 x 1500 | 1000 x 1500 | 1000 x 1500 | – | 800 x 450 | |
| 400 x 400 | 1200 x 627 | 1200 x 627 | 1200 x 627 | – | 1584 x 396 |
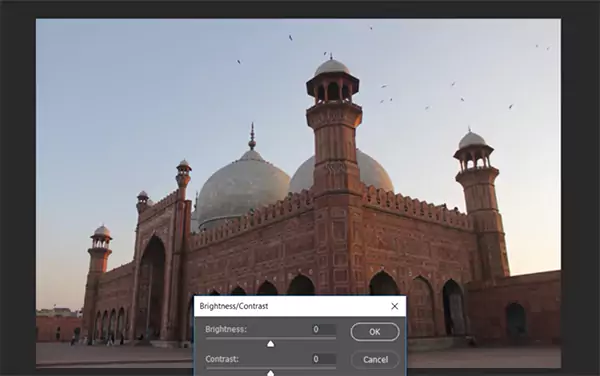
4. Optimise Brightness And Shadows
Most of the time, the picture’s contrast/exposure reveals the true character of the objects. So we do that using the tools available for photo editing programs.
Let me show you an example. Below is a picture in its raw form, and you can see its dull texture.
Now, after adjusting its contrast and brightness to some extent, as shown below, you can see how the walls of this monument started showing a scattered glow, making the picture more vibrant.
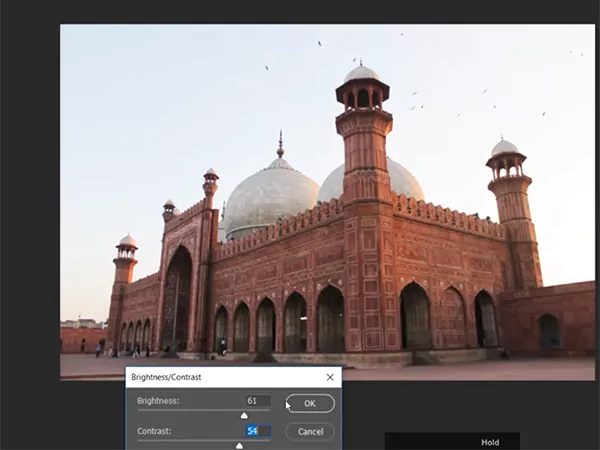
The brightness/exposure panel in different programs provides different features. You may just play with them to get the configuration work for your picture.
5. Saturation Matters
Saturation means the intensity of the colors present in the photo, while contrast means the lightness and darkness of the colors. Here, let me show you an example of how saturation changes the photo’s appearance.
The picture below is the raw sample for you.
Now, tweaking the saturation feature in your respective program can make this same photo appear like this.

Just one change and the dense cloudy weather turned to a sun-kissed morning.
6. Ensure Colour Balance
Color balance or color correction is a simple way of optimizing the color intensity in the picture. This is not just to make the picture look sharper but also to make the colors appear clearer, which makes it an important step in how to edit photos.
The picture below of a farm landscape looks good, but the tone of the colors looks similar. Only green and faded orange colors are visible.
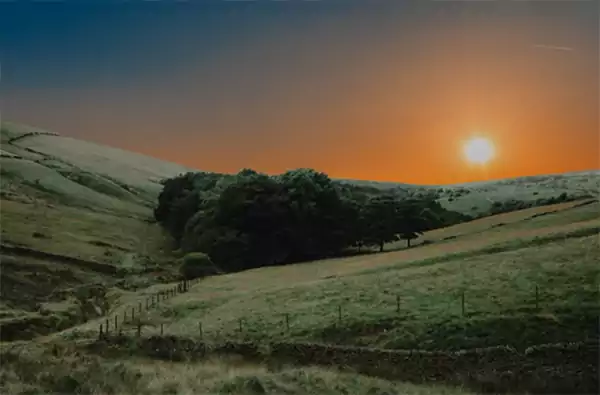
But if I make some color changes in it, the intensity automatically increases, and it will look like this.

7. Sharpen the Picture
Sometimes you get a picture with some blurriness, or its colors appear dissolved or merged. This can occur due to the shaking of the device you are using or taking long-distance shots, making the objects not distinguishable in photos. Here comes the sharpening tool in basic photo editing for dummies.
See this picture below. It has a blurred texture.
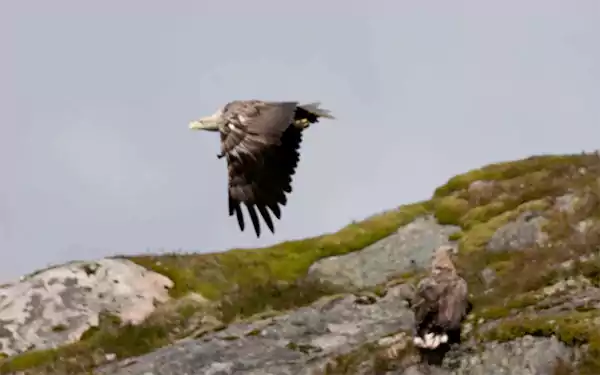
Now, after sharpening its texture, it appears like this.
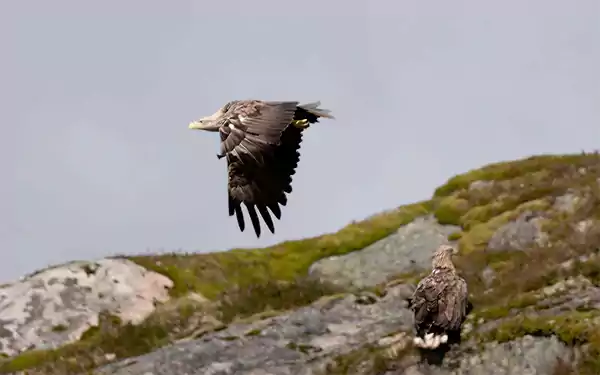
This is how important the sharpening tool is for basic photo editing for beginners.
8. Add Effects
There are a lot of effects or filters available either in the program you use or in the online photo editing services such as Canva. Adobe also provides photo effects online to further simplify the editing. They save time by picking and dropping the effect to change the picture as per your requirement.
9. Add Text
Adding text is the simplest and most effective way to express more from the pictures. This can be used in advertising or disseminating information through photos.
Here is an example. See the two pictures below and tell me which one is more appealing?


Obviously, the second one.
But make sure you don’t overdo it and use it only where required. Sometimes pictures with aesthetics don’t need a caption; just observing is all required.
The golden rule that applies here is minimum words, maximum meaning.
10. Give A Final Touch
After attempting all your editing techniques, make sure you give it a final touch. Just take a look at the photo, recall the intent behind the process, and realize if the editing served it. If yes, then export it. If not, then make the required modifications.
What are the Best Tools for Basic Photo Editing?
The best tools for basic photo editing are Adobe Lightroom and Photoshop, Luminar Neo, and Polarr. These tools have varied features, different interfaces, and multiple plans.
1. Adobe Lightroom CC
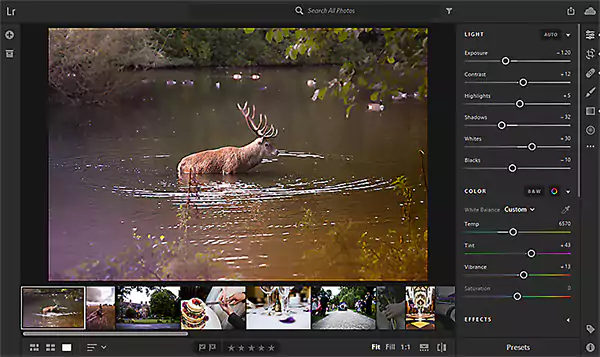
Adobe Lightroom, as the name suggests, is more of a tool to make tweaks in the light and color gradation. You can play with contrast color and brightness, crop the pictures, add filters or presets, or make refinements with brush tools. In a nutshell, it deals with organizing and processing the batch of images.
Plans: $11.99/moper license (billed annually)
2. Adobe Photoshop
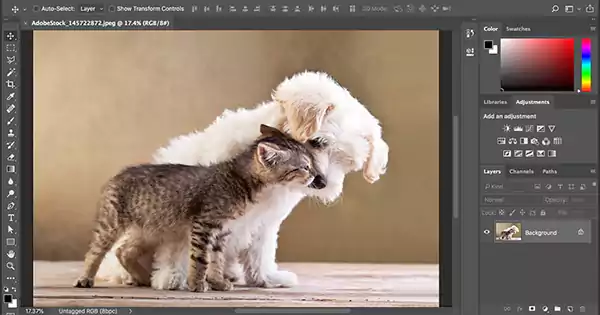
Adobe Photoshop is the whole one-stop solution for photo editing for dummies. It is one of the finest tools developed for photo editing, also inspiring other tools available these days.
While Lightroom works for non-destructive photo editing, Photoshop goes with manipulating the image to a certain level. However, Photoshop can be used for non-destructive purposes as well by utilizing layering tools.
Plans: $22.99/moper license (billed annually)
3. Luminar Neo
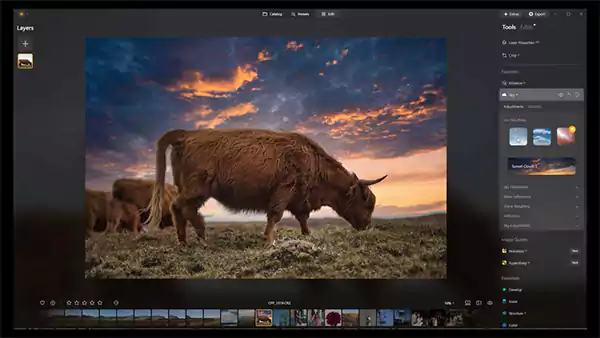
Luminar Neo by Skylum is also a magnificent tool, which has now incorporated many AI-based features. The pro tools available on it are really remarkable, such as supersharp, noiseless, upscale, and panorama-stitching. Multiple blur elements, a neon component, a light source, and a glow feature can make your photo editing really simple and quick.
- Desktop License: $119
- Max License: $164.99
- Cross-Device Perpetual License: $149
4. Polarr
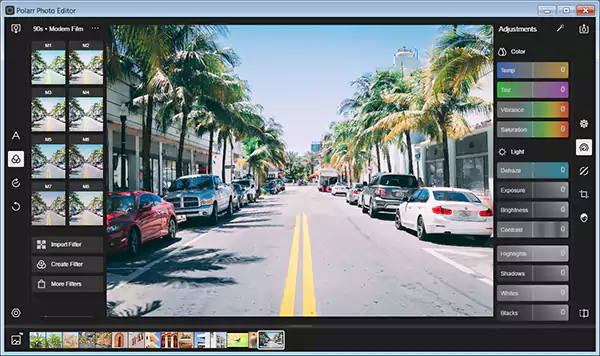
Polarr is considered a cheaper alternative to Photoshop and Lightroom. Its automatic photo enhancement and various plugins make it a good choice. The interface is also simple, and the tool panels are also understandable to novice photo editors.
- Monthly: $7.99 per month
- Yearly: $47.99 per year (first month free)
My Take: Try using Adobe software because it has a similar interface, related feature panels, and similar shortcut keys.
What are the Differences Between Advanced and Basic Photo Editing?
The key differences between advanced and basic photo editing are the editing level, tools utilized, time spent, skills required, and the price of the service.
Here is a brief account of these points to give you a comprehensive insight.
- Editing Level: The basic photo editing undertakes superficial edits, while the advanced editor goes deep into the picture’s properties to find the opportunities for modifications.
- Tools Used: Editing software is generally common, i.e., Photoshop and Lightroom, in most cases. Some may also utilize Luminar Neo, Polar, etc. The key difference is the tools used. The beginner usually goes with a healing brush, stamp-sharpening tools, etc. The advanced-level editors harness the colour grading, red-eye, liquify tools, etc.
- Time Elapsed: Basic retouching requires around 5 minutes per picture. But advanced-level photo editing requires ½ to 1 hour to get it ready.
- Required Skills: An advanced editor always has higher-level skills to perform modifications on the photos than a beginner.
- Cost: The time used, skills required, and efforts applied make the expert editing more costly than the basic level. While the basic editing may cost $1-$2, the advanced level may cost $3-$6.
5 Best Photo Editing Tips for Beginners
Basic photo editing is the preliminary stage in the career of a photo editor. Although it requires less effort, certain points need to be adhered to during the entire process to reap the best results from your caliber.
A few beginner photo editing tips from my side are the following:
- Use a Good System and Setup: Although you can edit photos on smartphone tabs, etc., I would suggest you have a good and efficient system with more than the required specifications. A system and setup will help you have a good working environment, will also aid in grasping the deepest colors in the picture, and will help you find opportunities to make it more intriguing.
- Learn Shortcuts: If we talk about Adobe Creative Cloud, the shortcuts of Adobe software remain almost the same. Like Photoshop, Lightroom, and Illustrator have almost similar shortcuts. These shortcuts help you accelerate your workflow.
- Practice as Much as Possible: The more you practice on random photos, the better you will be at your skills. Upload your edited pictures to social media to see what people say about them. Connect with like-minded people through Reddit, Quora, and Facebook communities and learn something new every day.
- Create a Great Portfolio: Group your best photos and make a portfolio. If you are working freelance or as an intern, then try to understand what the client wants.
- Use any 1 or 2 Software: Photo editing is more a skill of psychology than knowledge of tools. Get adept at using 1 or a maximum of 2 photo editing software programs and try making the most out of them.
Conclusion
Basic photo editing is an interesting task. You need a thorough understanding of the programs you use and must understand the scope of improvements in the picture to make it more engrossing. As you work on more images, gradually you start finding the hidden opportunities for improvement, and that is what makes the difference between a beginner and an experienced editor.
FAQs
Q1: What is the easiest photo editor for beginners?
Adobe Lightroom is the easiest editor for beginners, with relatable and understandable panels and all essential tools for non-destructive photo editing for dummies.
Q2: How much is Lightroom per month?
Adobe Lightroom costs $11.99 per month. If you work on the Adobe Suite, including other Adobe software, then purchasing Adobe Creative Cloud for $34.99 per month can be a good choice.
Q3: Is Lightroom or Photoshop better?
Both of them are better in their own way, as Lightroom works better for basic photo editing and Photoshop is good for modifying the picture through intricate manipulations.
Q4: Can Photoshop do everything Lightroom can do?
Yes, Photoshop can do everything that Lightroom can. It can even do more by manipulating the picture in different ways.
Source